How to Turn a Screen Recording Into Tutorial Screenshots
2026-06-08
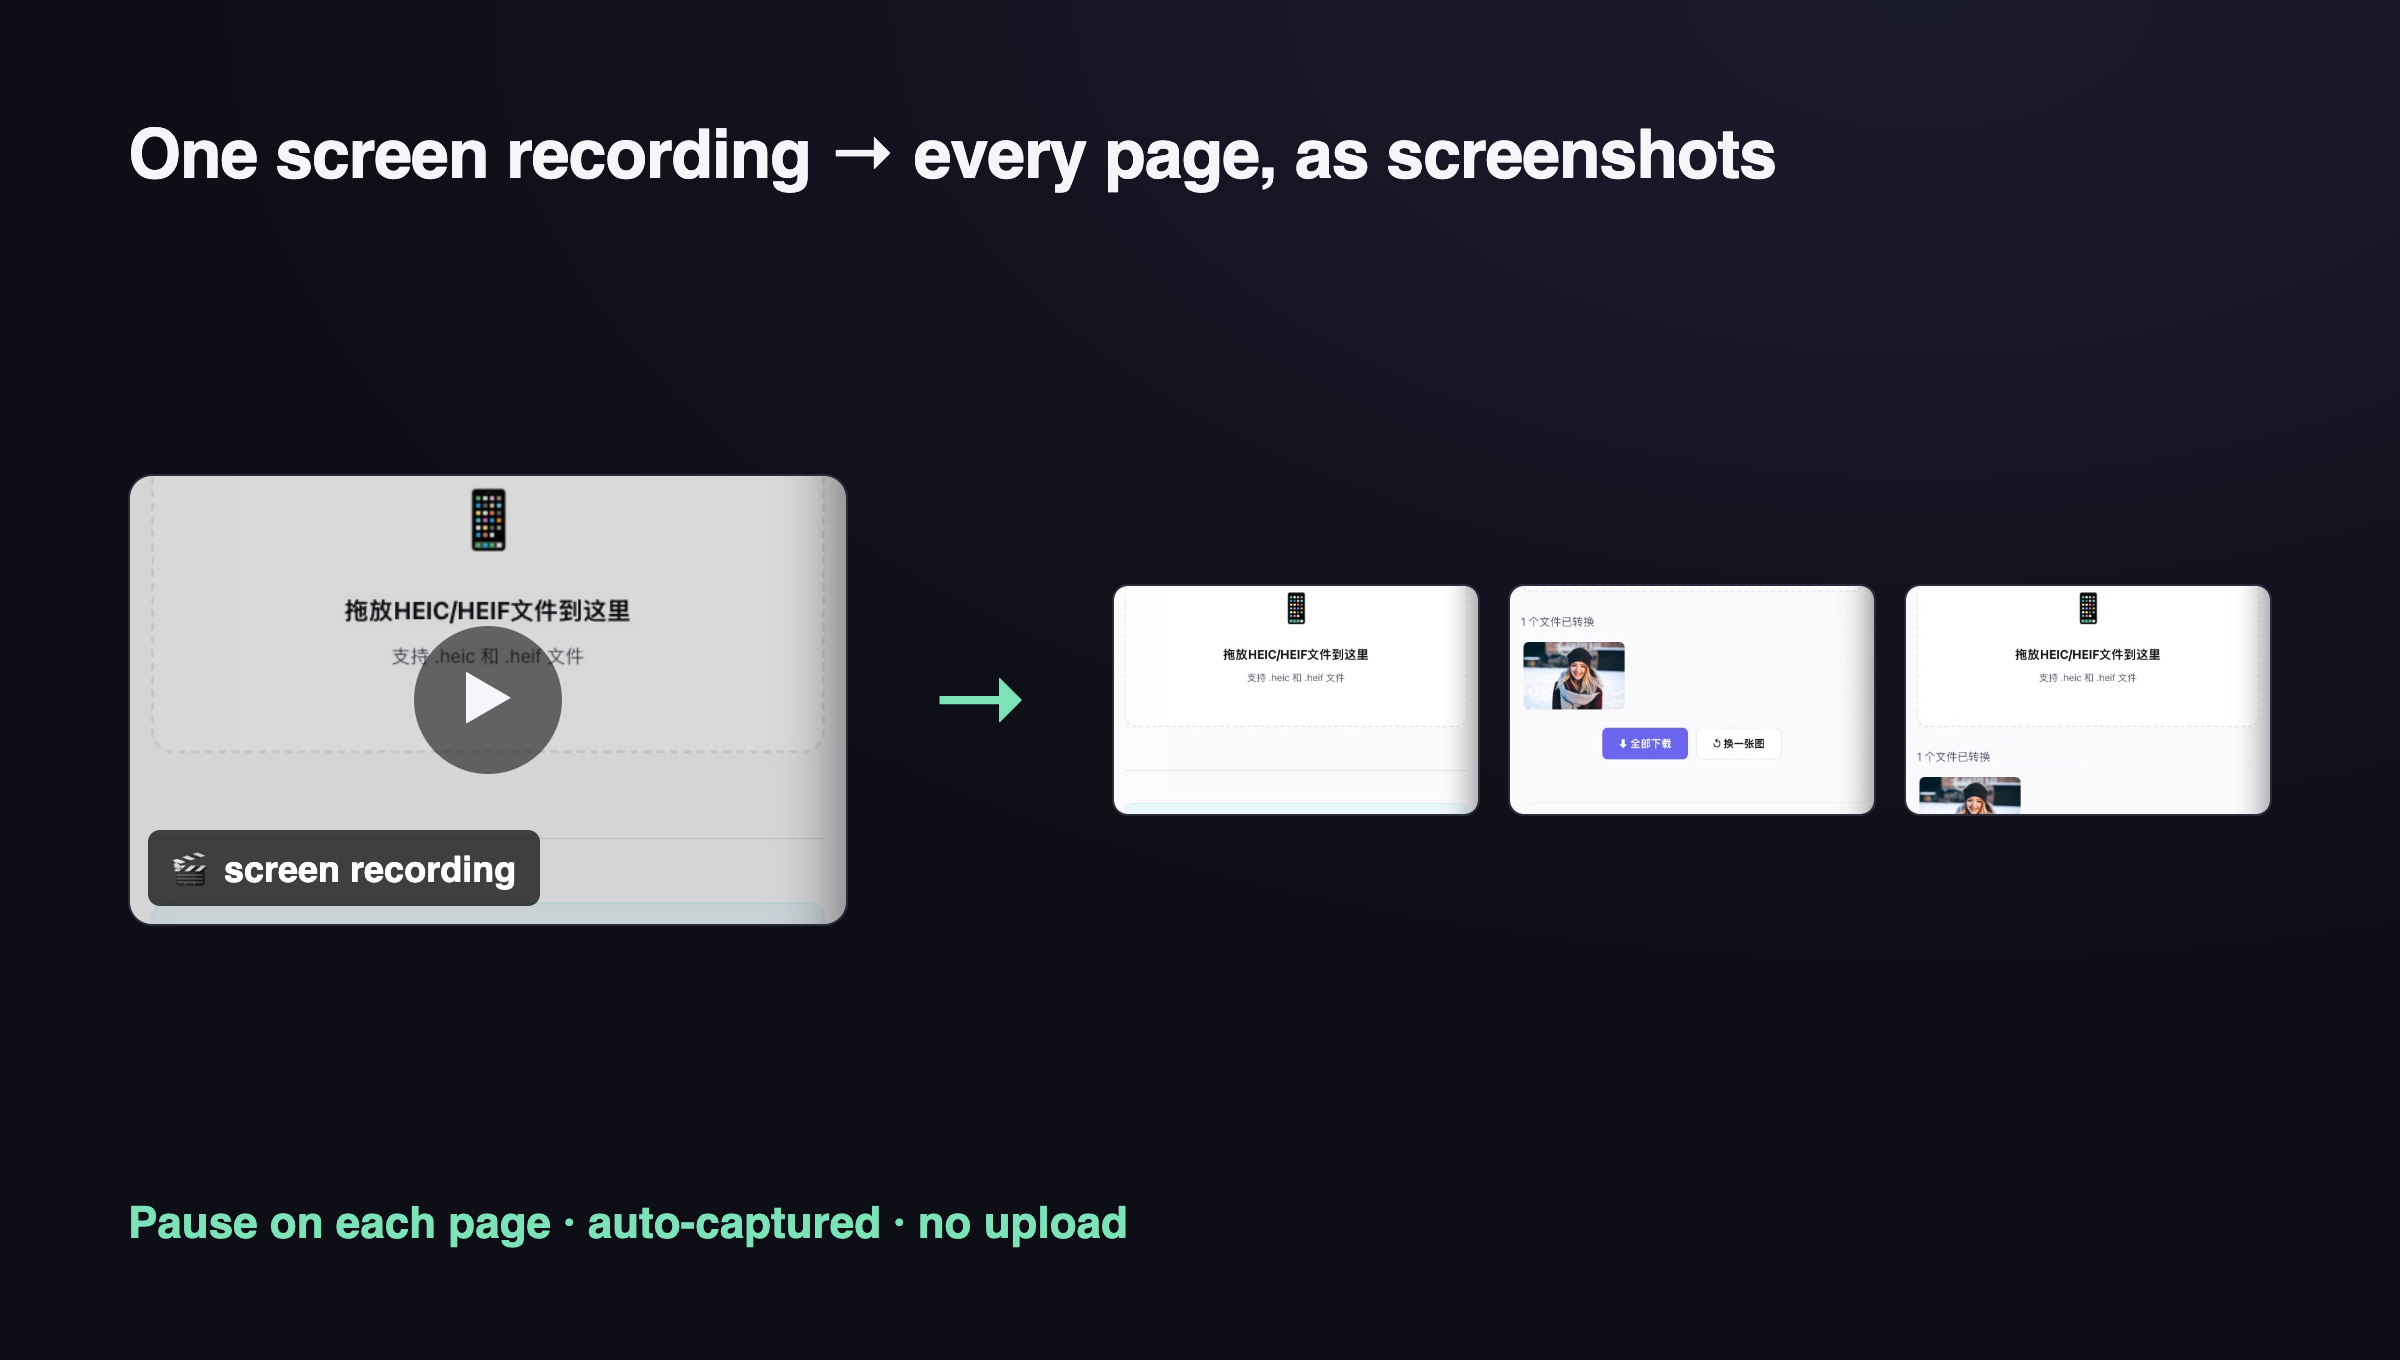
Short answer: record your click-through once — pausing for a second on each page you want — then run the recording through a frame extractor set to "grab every page I paused on." You get a clean screenshot of each step without scrubbing the video or hitting Print Screen fifty times. ToolKoala's Video to Screenshots does exactly this, in your browser, with no upload.
The slow way most people use
Writing a tutorial usually means: click to a page, press Print Screen, crop, click to the next page, screenshot again — for every single step. Miss one and you redo the whole flow. Paid tools like Snagit (~$63) automate parts of it, but they cost money and often upload your captures.
There's a faster path that needs zero clicking-and-cropping: do the click-through once as a screen recording, then pull the stills out afterward.
The fast way: record once, extract the pages
- Screen-record your click-through (QuickTime on Mac, Game Bar on Windows, or any recorder). As you go, pause about 1–2 seconds on each page you want a screenshot of.
- Open Video to Screenshots and drop the recording in.
- Choose Pause to capture and set the hold time to ~1s. It grabs one screenshot of every spot where you held still — exactly the pages you meant to capture.
- Deselect any you don't want, then download the rest as a ZIP.
A dozen clean, full-resolution step screenshots in seconds — and the video never leaves your browser.
Prefer a different trigger? The same tool also does Auto (grab a frame whenever the page changes), Every N seconds, and Manual (scrub and capture).
Other ways (and their trade-offs)
- VLC → Snapshot (free): play the video and hit Snapshot at each moment. Works, but it's manual and one at a time.
- ffmpeg (free, technical):
ffmpeg -i rec.mp4 -vf "fps=1" out_%03d.pngdumps a frame per second — then you sift through dozens to find the page ones. Powerful but messy for tutorials. - Paid apps (Snagit and friends): polished, but they cost money and many upload your capture.
The browser "pause-to-capture" route wins for tutorials specifically because you decide which frames matter — the ones you paused on — so there's nothing to sift.
Tips for clean tutorial screenshots
- Record at the final resolution. Frames come out at the video's native size, so record at the size you want your screenshots to be.
- Pause deliberately. A clear 1–2 second hold on each page makes pause-to-capture reliable.
- Move the cursor away before pausing if you don't want it in the shot.
- Sensitivity: higher catches smaller changes (a dropdown opening); lower ignores cursor blinks and minor noise.
FAQ
What's the easiest way to screenshot every page of a website for a guide? Record a click-through once, pausing on each page, then use a pause-to-capture extractor like Video to Screenshots to pull a still of every page you held on. No manual screenshotting.
Can I extract frames from a video without uploading it? Yes. Browser-based tools decode the video locally with canvas — ToolKoala's never uploads your recording (verify it in DevTools). VLC and ffmpeg are also fully offline.
What format are the screenshots? Full-resolution PNG or JPG, captured at the video's native resolution, downloadable individually or as a ZIP.
Does this work for app demos too, not just websites? Yes — anything you can screen-record. Pause on each screen you want and extract; it doesn't care what's on screen.
— Milo 🐨